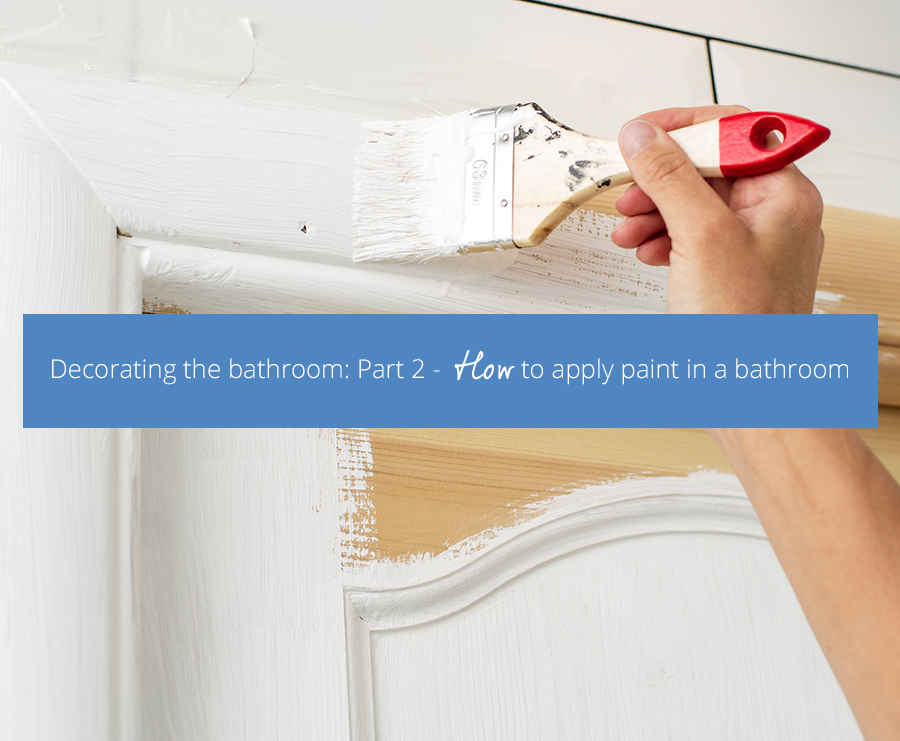
Decorating the bathroom: Part 2 – How to apply paint in a bathroom
Whether starting with a brand-new bathroom and bare plastered walls or painting over existing paint, the most important thing is preparation even though both routes need to be treated in different ways.
What both have in common however, is the order in which to paint the bathroom. Always start at the top and work down towards the bottom to avoid drips landing on freshly painted areas.
Firstly clean, fill, sand down and then paint the bathroom ceiling. Paint around any fixtures first then cut in around the ceiling line finishing with the larger central area. Consider using a roller pole to make it easier to apply the emulsion and make sure to apply two coats minimum – it’s not a job you want to repeat the following year!
Now the process needs to be repeated for the walls.
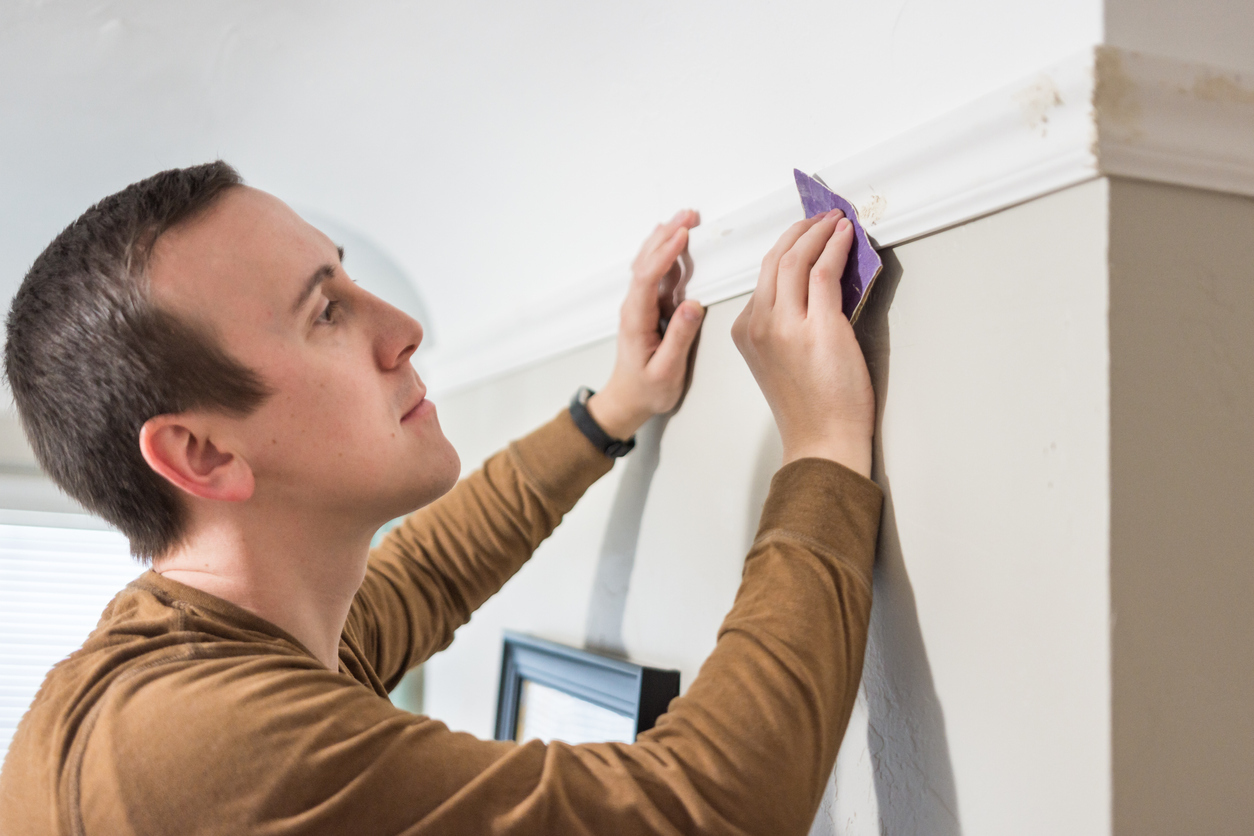
If you are repainting a previously painted wall, then the first thing to do is to look for any cracks or imperfections in the walls and apply a suitable filler. Once completely dry, the filler needs sanding down with fine sandpaper before washing down the walls with sugar soap which will remove any very small imperfections and grease spots. Sugar soaping, while it may seem overkill to many, will allow the paint to apply without any defects which may later allow moisture to get under the paint and therefore cause problems further down the line.
If you have had a wall replastered or have an unfinished new build, you will be starting from scratch, however, that does not necessarily make the task of decorating any easier. The plaster must be completely dry and free of dust and flaking before getting started. Next, a ‘mist’ coat of paint needs to be applied. ‘Mist’ paint is a watered-down cheaper emulsion paint in a similar colour to the topcoat which, once applied, should be absorbed into the fresh plaster. This coat acts as a primer and once completely dry can be covered by the topcoat of choice in the finish of your choice. It is recommended to apply a second, even third coat of paint on bathroom walls.
Start painting at the top and cut in around the edges of the wall and any fixtures, working your way down to the bottom and the skirting boards.
Walls complete, now it is the turn of the skirting boards and other woodwork such as the doors, door frames and windowsills. It is best to paint woodwork last to reduce the risk of your brush picking up dust or fibres. Similarly, woodwork needs to be wiped down, any cracks or nail holes filled in and, once dry, sanded down. Next protect the newly painted walls by masking off with tape before applying the first coat of satinwood, gloss, or eggshell. When the first coat has dried, sand back slightly, brush off the dust and apply the second coat.

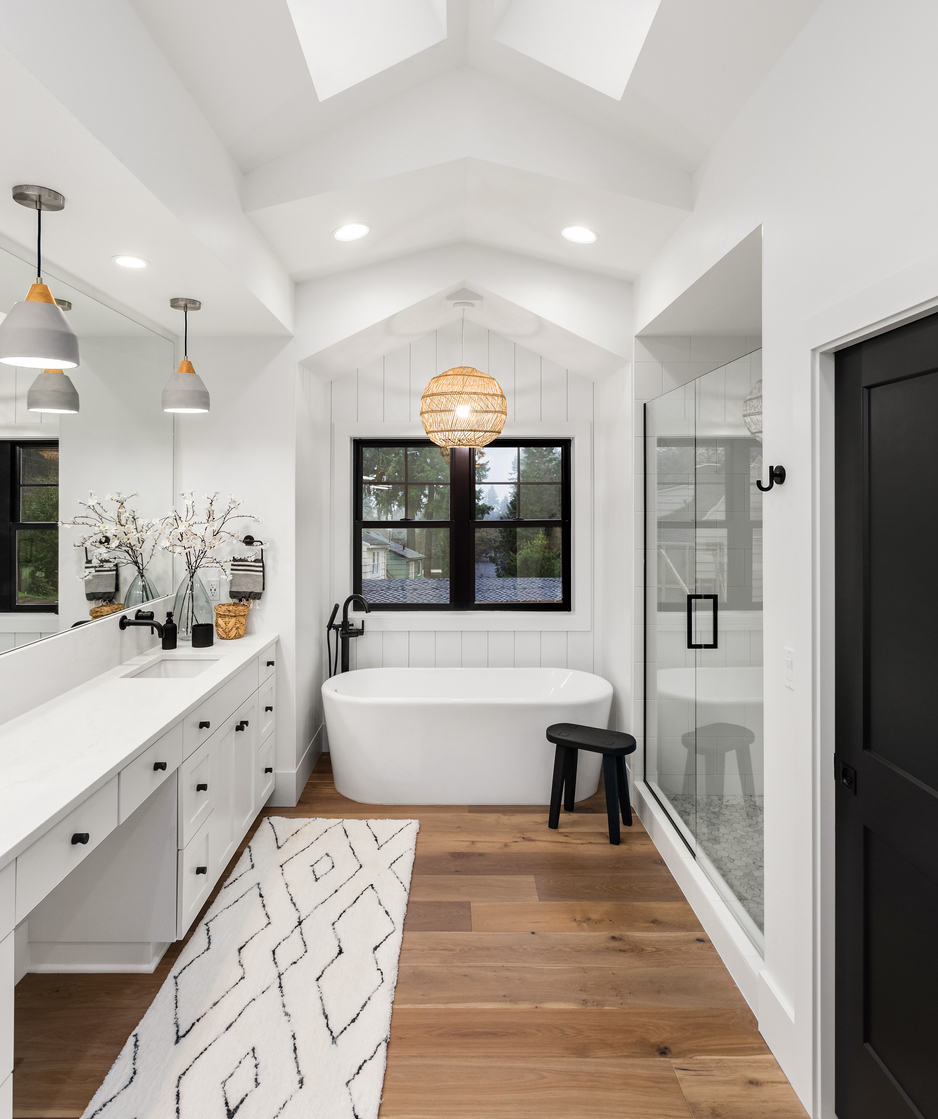
Ensure all paint has dried fully before allowing steam to appear in your bathroom but then make sure you make plenty of time to lay back, soak in your bath and admire your handiwork!
The Compare Network
Copyright – Insight Retail Group Ltd 2025 All rights reserved